 Austria
 Belgium


 Welcome to...
We believe you are trying to shop from the following location: Rest of the world
To enjoy low cost shipping and local currencies please allow us to redirect you to our local store.
Choose 3 for £45 or 5 for £75
Choose 2 from £130 or 3 from £180
Choose 2 for £20
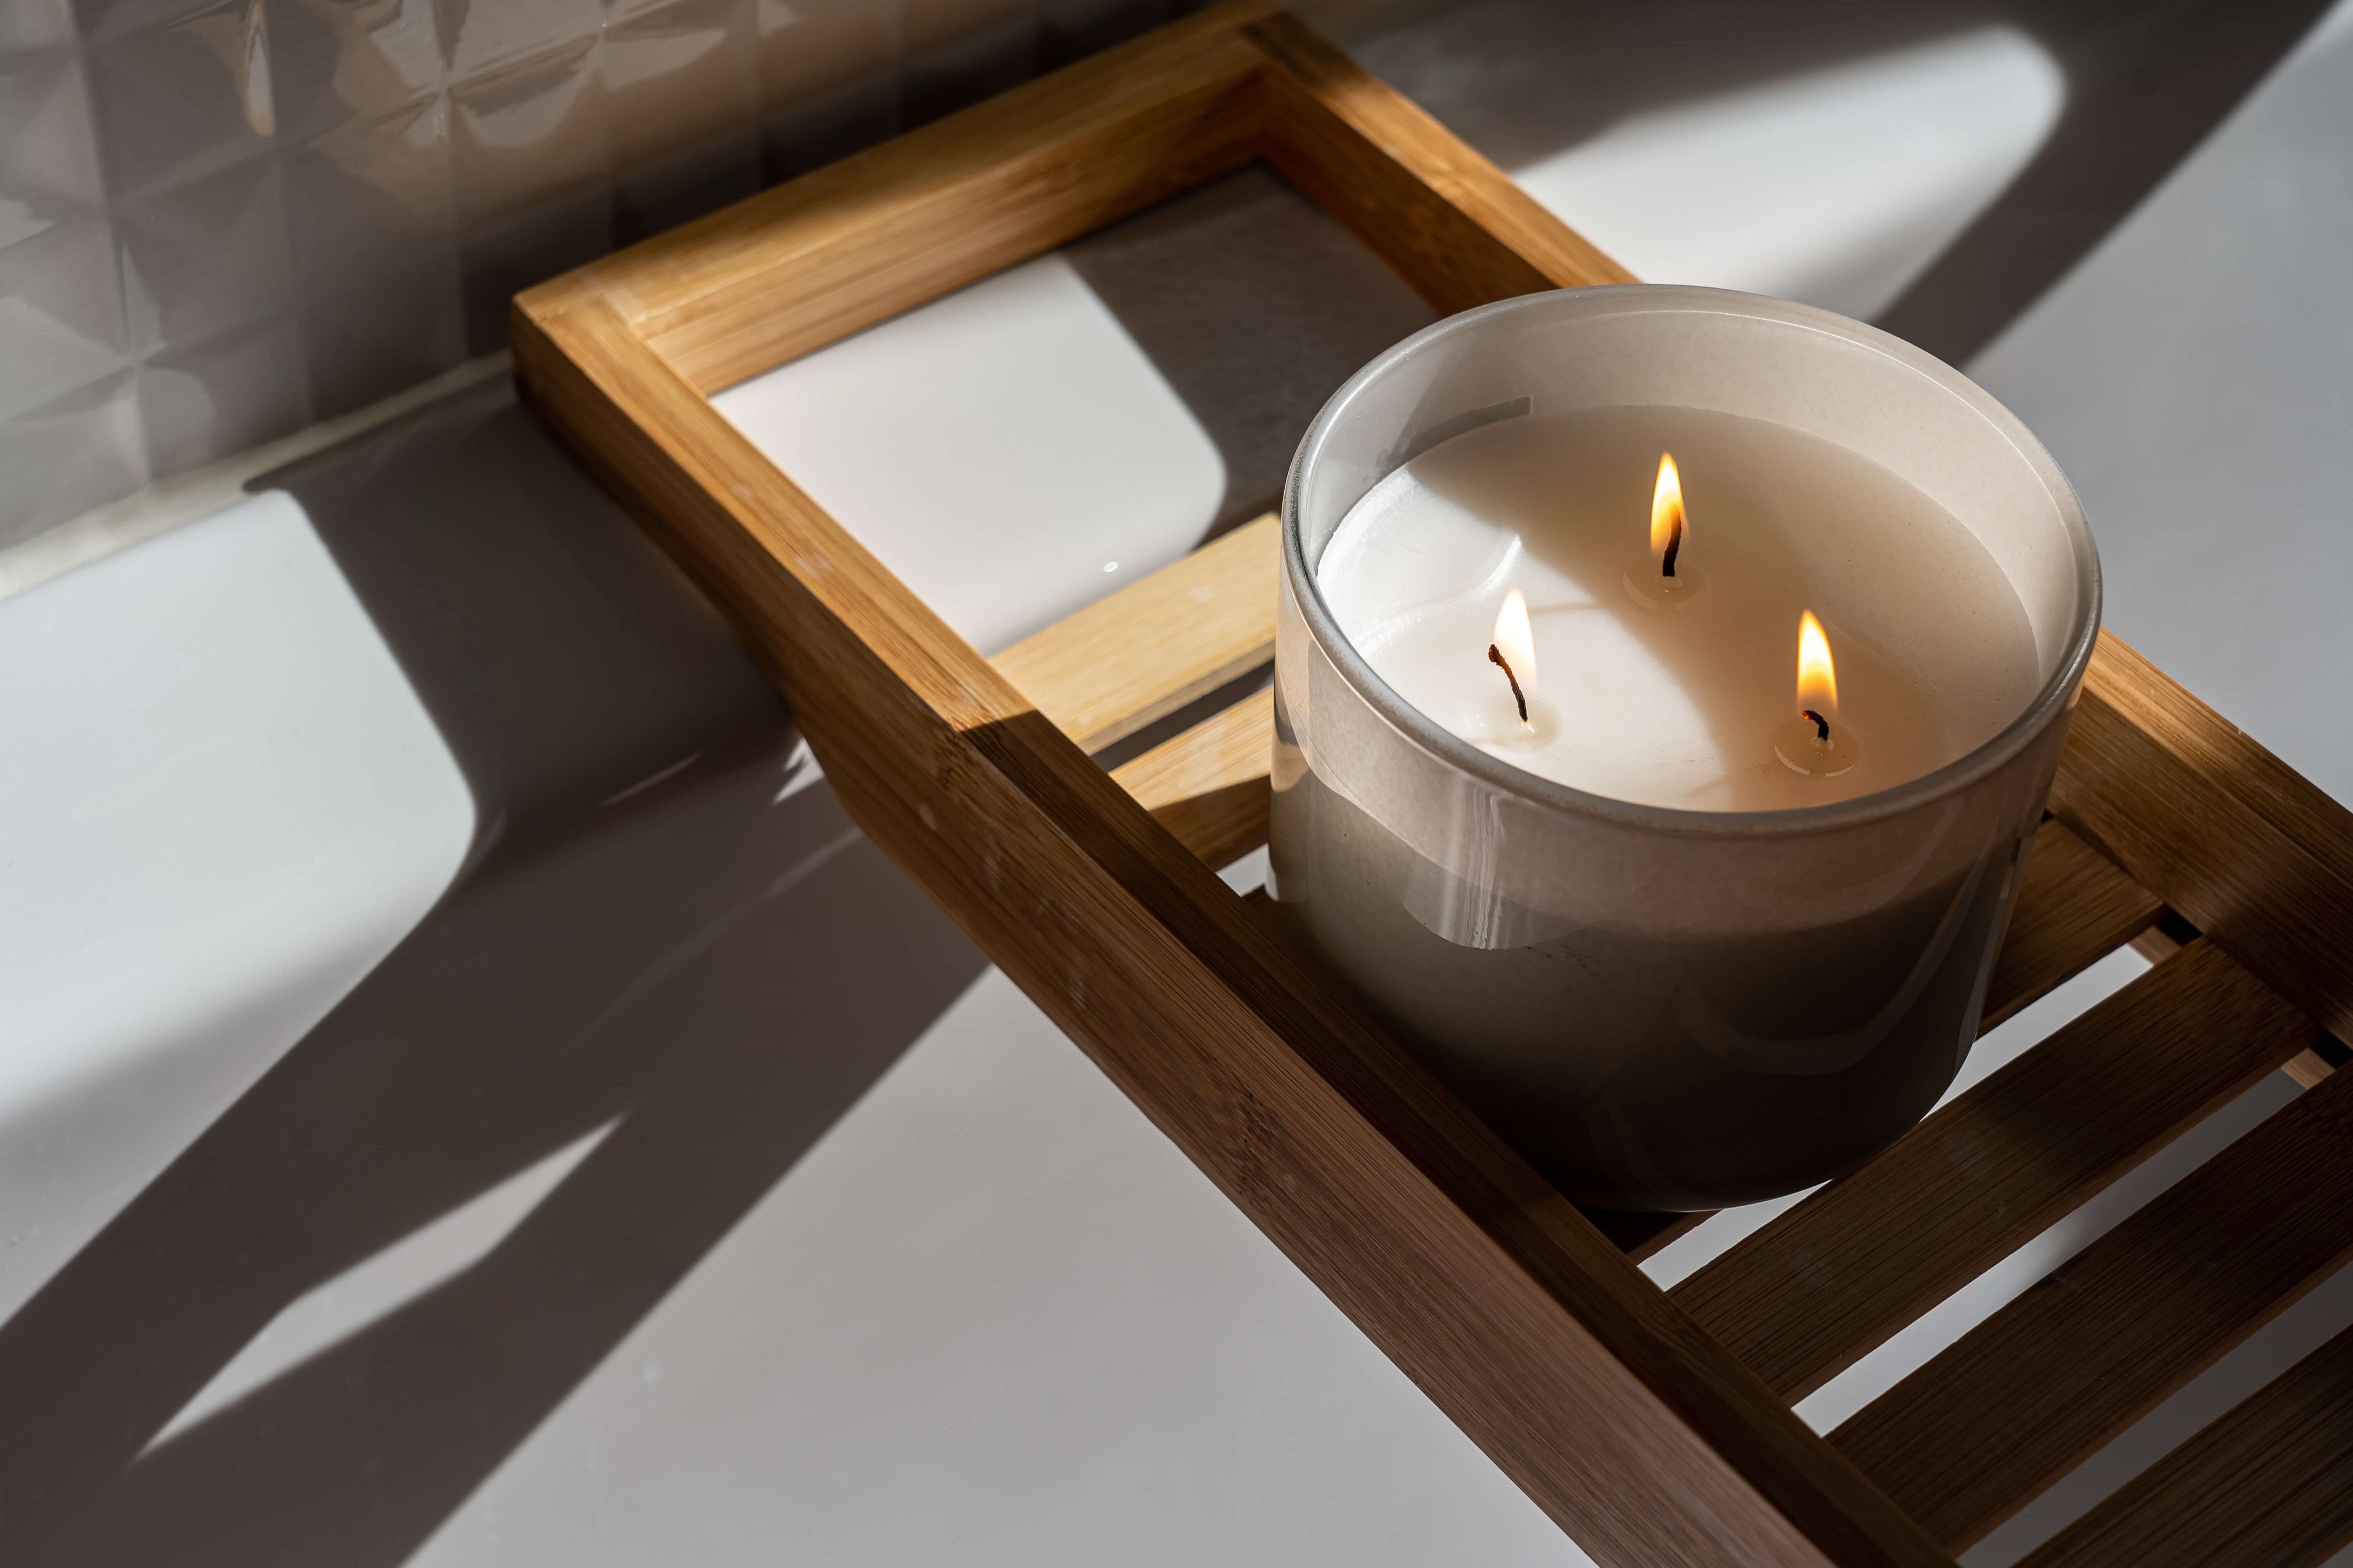
Burning candles evenly is actually pretty difficult. Throughout the years I have spent much more time looking into than is probably acceptable. From the difference between candle sizes to how long the wicks should be to candle covers that stop the draught getting in, I've researched it all. Here are a few tips on how you can ensure an even burn of your candle to make sure none of it goes to waste!
Now this step is pretty much the most important. Not burning the candle properly the first time will basically mean you're doomed. Ok, that was a bit dramatic, but it will mean there is little hope for you not wasting all the wax. What you need to do the first time you burn the candle is to make sure that the pool of melted wax reaches all the sides of the candle. This pool should be about 1cm deep before you put the candle out.
How wide the candle is and how many wicks it has will decide how long this will take, if you only have an hour before you will be putting your candle out opt for a smaller candle to ensure an even burn. It may take some patience but ensuring the candle is burnt properly every time will mean that you don't waste any wax and that you have less wax to get out of the jar at the end! If you do not burn the candle properly you could run into issues with burning your candle as the wick could get drowned by all of the excess wax in the future leaving you unable to light your candle.
The second most important tip is to make sure you trim the wick, preferably every time you burn the candle. Not only will this help the candle burn more evenly but it will also stop all the black smoke marks on your candle jars or walls!
A good rule of thumb is to trim your wick after every four hours of burn time or simply after each burn. When it comes to trimming, always extinguish the flame (obviously), let the candle cool to room temperature, and then trim the wick to 1/8 of an inch or half a cm. You can trim it with scissors or spare nail clippers, or you can get professional and buy a wick trimmer specifically for the job.
 Photo by Enovate Studio from Pexels
If you have a candle that is already forming a tunnel shape one trick you can do is putting foil on the top. Please only put this on the candle when the candle is not lit. Touching the jar of the candle or foil once it has been around the flame will be very hot and may cause burns.
To get rid of the extra wax that is causing a tunnel simply fold some tin foil in half and wrap it around the neck of the candle. Fold it over the top of the candle to form a tent like shape but leaving a reasonable sized hole for oxygen to reach the candle. After around 30 minutes (based on the size of your candle) the built up wax should have melted off the sides and back into the candle. Bare in mind if there is lots of wax this could drown the wick and stop the candle from burning
This one may surprise you but try to keep your candle away from moving air such as fans, draughts, open windows or aircon units. The movement from the air can disturb the flame causing it to create the black soot that you have avoided from trimming your wick.
 Photo by Castorly Stock from Pexels
When you have finally finished burning your candle take a look at our blog posts below to see how you can reuse the jars or the candle wax so nothing goes to waste!
Upcycling Candle Jars - Don't Just Let The Flame Burn Out
How To Turn Leftover Wax Into Wax Melts
Like this article? Sign up to our newsletter to get more delivered straight to your inbox
_____________

Why Does My Fragrance Faint So Quickly? Understanding Longevity Issues

When to Wear White Peaches Fragrance 100ml: From Dawn Till Dusk

How to Choose Your Perfect Perfume Sample
Customer service
Talk to us via chat. 9-5pm EST. Wed - Sun
Fast Free Shipping
Get free shipping on orders of £60 or more
New Customers
New customers enjoy 10% off their first order
Secure payment
Your payment information is processed securely


Share:
Gifts For Everyone For Under £35
Christmas Jumper Edit